How to create a custom widget in WordPress?
When you work with WordPress, you might have a question that how the widget in WordPress work. You might have also questioned how a theme comes with different widgets apart from default WordPress widgets.
When I started using WordPress, I had similar quearies about widgets. Also I wanted to create my own WordPress widget.
Sometimes you might have your own requirement to create a custom widget in WordPress. So in this article, I will tell you how to create a custom widget in WordPress.

Before creating a WordPress widget, you should have an idea of what is WordPress widget and what is the use it.
What are WordPress widgets and their use?
A WordPress widget is a set of codes that you can use in your website sidebar or widget ready area. Mostly we use WordPress widgets in the sidebar and footer columns of the website. But we can use it in any position.
It is like a module that you can use to add different elements by using a simple drag and drop interface. Every widget comes with some functionality or showing some content to specific areas.
By creating a widget once, you can use it in multiple places without writing code again. It provides the reusability of some functionality into your WordPress website.
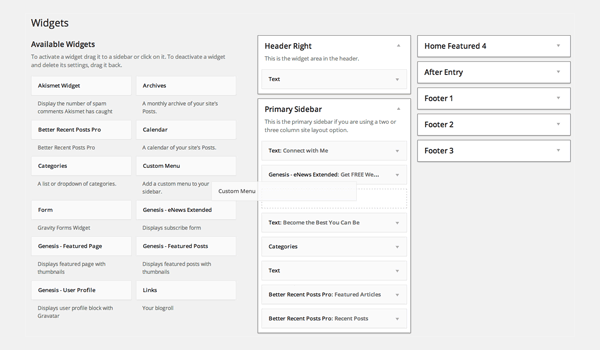
You can find the WordPress widget inside appreance->widgets
Create a custom widget in WordPress:
To create a custom widget in WordPress, you will have to consider mainly five steps or things. Which are the following:
- The construct part
- Creating widget front-end
- Creating widget Backend
- Updating widget replacing old instances with new
- Register the widget
In the below code we doing setup the widget class and functions. You need to use this code inside your functions.php file of your theme. If you are developing your plugin then you can use this code inside your plugin file.
If you have a child theme then you can use the below code inside the functions.php file of your child theme. If you do not know how to create a child theme then follow our other article on how to create a child theme in WordPress.
// Creating the widget
class ts91_widget extends WP_Widget
{

	// The construct part
	function __construct()
	{
		//code goes here for widget name and description things
	}

	// Creating widget front-end
	public function widget( $args, $instance )
	{
		//code goes here for creating front end of widget
	}

	// Creating widget Backend
	public function form( $instance )
	{
		//code goes here for creating backend stuff where you can use the form
	}

	// Updating widget replacing old instances with new
	public function update( $new_instance, $old_instance )
	{
		//code goes here to update the widget content.
	}

// Class ts91_widget ends here
}

//Registering the widget
function ts91_load_widget()
{
    register_widget( 'ts91_widget' );
}
add_action( 'widgets_init', 'ts91_load_widget' );
Now you need to create stuff inside the above widget setup. you can now replace the above code with the below code for a working custom WordPress widget.
// Creating the widget
class ts91_widget extends WP_Widget
{

	// The construct part
	function __construct()
	{
		parent::__construct(

		// Base ID of your widget
		'ts91_widget',

		// Widget name will appear in UI
		__('91 TechSquare Widget', 'ts91_widget_domain'),

		// Widget description
		array( 'description' => __( 'custom widget based on 91 TechSquare Tutorial', 'ts91_widget_domain' ), )
		);
	}

	// Creating widget front-end
	public function widget( $args, $instance )
	{
		$title = apply_filters( 'widget_title', $instance['title'] );

		// before and after widget arguments are defined by themes
		echo $args['before_widget'];
		if(empty($title))
		{
			$title = "91 TechSquare Widget Title";
		}
		if ( ! empty( $title ) )
		echo $args['before_title'] . $title . $args['after_title'];

		// This is where you run the code and display the output
		echo __( 'Hello Developers, Hope you are doing well!', 'ts91_widget_domain' );
		echo $args['after_widget'];
	}

	// Creating widget Backend
	public function form( $instance )
	{
		if ( isset( $instance[ 'title' ] ) ) {
		$title = $instance[ 'title' ];
		}
		else {
		$title = __( '91 TechSquare Widget Title', 'ts91_widget_domain' );
		}
		// Widget admin form
		?>
		<p>
		<label for="<?php echo $this->get_field_id( 'title' ); ?>"><?php _e( 'Title:' ); ?></label>
		<input class="widefat" id="<?php echo $this->get_field_id( 'title' ); ?>" name="<?php echo $this->get_field_name( 'title' ); ?>" type="text" value="<?php echo esc_attr( $title ); ?>" />
		</p>
		<?php
	}

	// Updating widget replacing old instances with new
	public function update( $new_instance, $old_instance )
	{
		$instance = array();
		$instance['title'] = ( ! empty( $new_instance['title'] ) ) ? strip_tags( $new_instance['title'] ) : '';
		return $instance;
	}

// Class ts91_widget ends here
}

//Registering the widget
function ts91_load_widget()
{
    register_widget( 'ts91_widget' );
}
add_action( 'widgets_init', 'ts91_load_widget' );
By using the above code custom widget is created in the WordPress website. Now it can be found in the appearance->widget section.
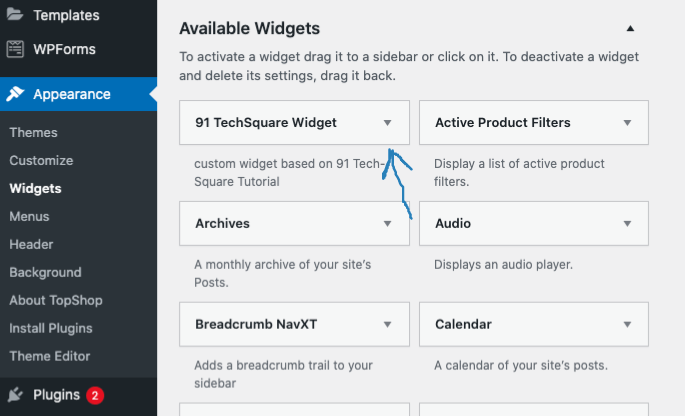
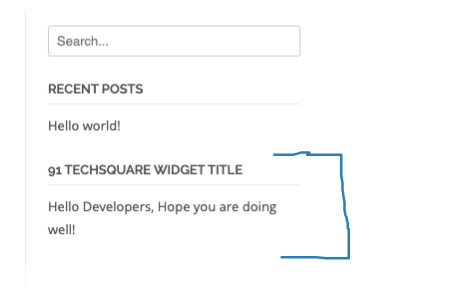
Now you should know the concept of the custom widget in wordpress. You can see the output of the custom widget below the screenshot.
If you want to know more about custom widgets then you can follow our other article How to create a custom dynamic WordPress widget.